Making an instrument - From wood to varnishing
WOOD
It all begins with the perfect selection of materials. Our spruce comes from the forest of Paneveggio where we go to pick out the best pieces.
The spruce we use is cleaved – not cut – along the lines of the fiber, and the sound vibrations are carefully measured to secure the ultimate quality and density of the pieces.
Our maple wood primarily comes from the Balcan areas. However, like the famous craftsmen of the past sometimes we also sometimes use the local maple Oppio from the Appenine mountain areas of Parma. Each piece is being matured from 6 to 20 years.
Having selected the model, we choose the respective pieces based on structural and aesthetic qualities.
Method of construction
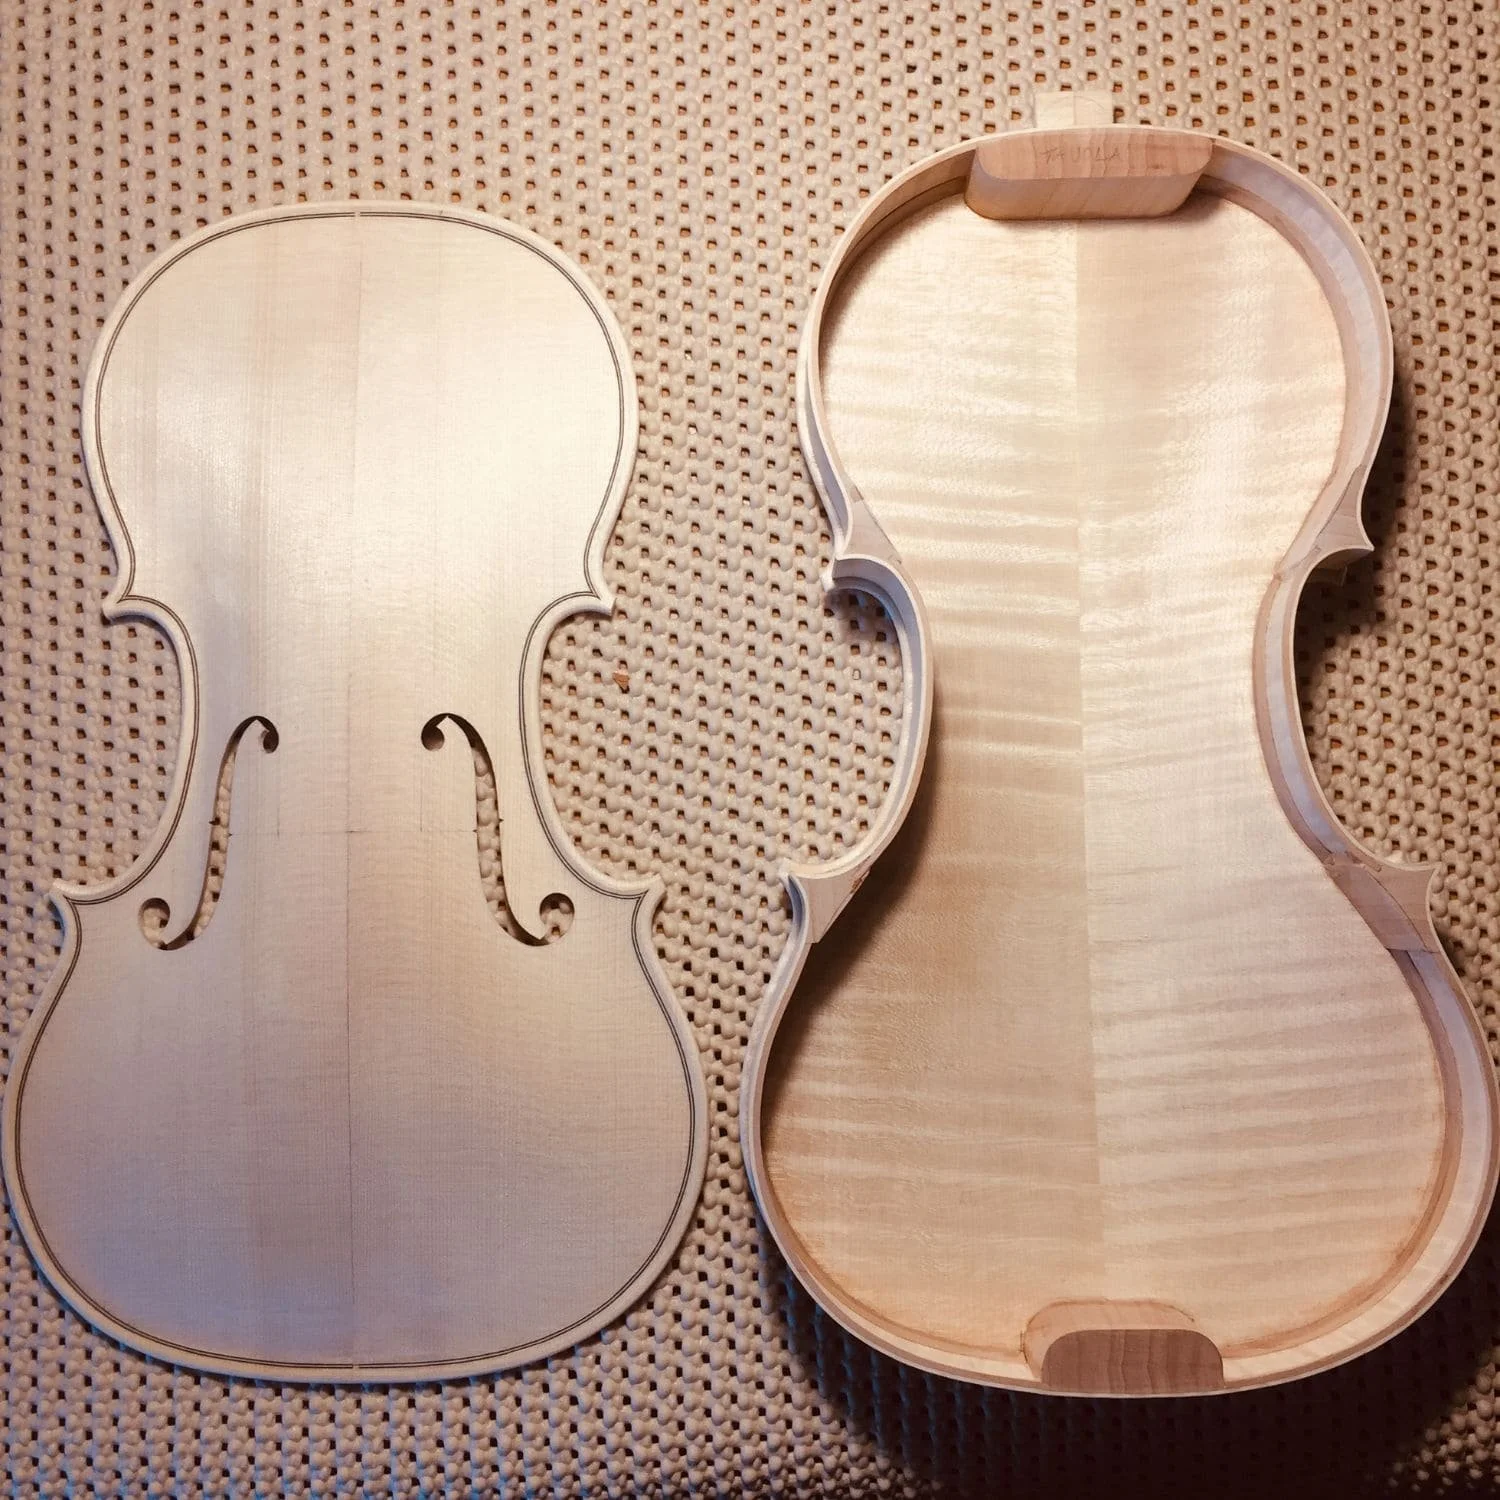
Using an internal mold, we prepare each piece separately before assembly. Therefore slight variations may occur from one instrument to another. Top and back are finished before they are to be connected with the ribs.
To ensure the correct resistance and elasticity we only use hide glue which ensures the correct resistance and elasticity.
Ribs
To begin with we fit and cut the corner blocks using red willow, then with the aid of a hot iron and water each rib is bent and glued on to the mold. After that we bend and glue in the counter ribs, still using willow. With help of the mold the ribs are finished and transferred to top and the back.
Top and back
Top and back are shaped to the ribs with special attention to the aesthetics of the outer lines and corners. We then shape the arching, always keeping the acoustic properties in mind.
Then with a small knife we cut the channel in which the purflings are to be inlayed. We normally use purflings of tinted pear wood and poplar.
Now the inside is cut down to the correct thickness, we go by the method of carefully measuring the frequencies the top and back emit in accordance with the center point
After this the symmetric f-holes are cut into the top, and the final step is fixating the base bar with glue.
Scroll
Here comes Pietro’s favorite moment; the cutting of the scroll! This process of sculpting gives a moment of freedom to let loose one’s creativity and skill in using the gauges.
Still it’s very important to pay attention to the shaping of fingerboard and neck as to ensure the right comfort and ease of playing.
Closing of the instrument
Now the time has come to close the instrument, glueing the ribs to top and back. Then we momentarily fit the soundpost and glue in the neck to determine the correct angle of the neck and string projection.
Varnish
Now the instrument is ready to be varnished. We use an oil-based varnish and add color in form of natural pigments to obtain the wanted texture, color, transparency and movement of the varnish and wood. Varnishing takes time and each layer must dry sufficiently before moving forward to ensure sure that the varnish will sustain all changes of climate during travels and transportation.
Set Up
These are the last steps to perfect the shape of the fingerboard, shaping the pegs, cutting the bridge and sound post to adjust the sound and balance of the entire range of strings. Selecting a good set up of pegs, chin rest and string holder is very important to us. Every detail matters. We then play the instruments before deciding the exact position of the sound post, bridge details etc. in order for the instrument to reach its maximum potential.


